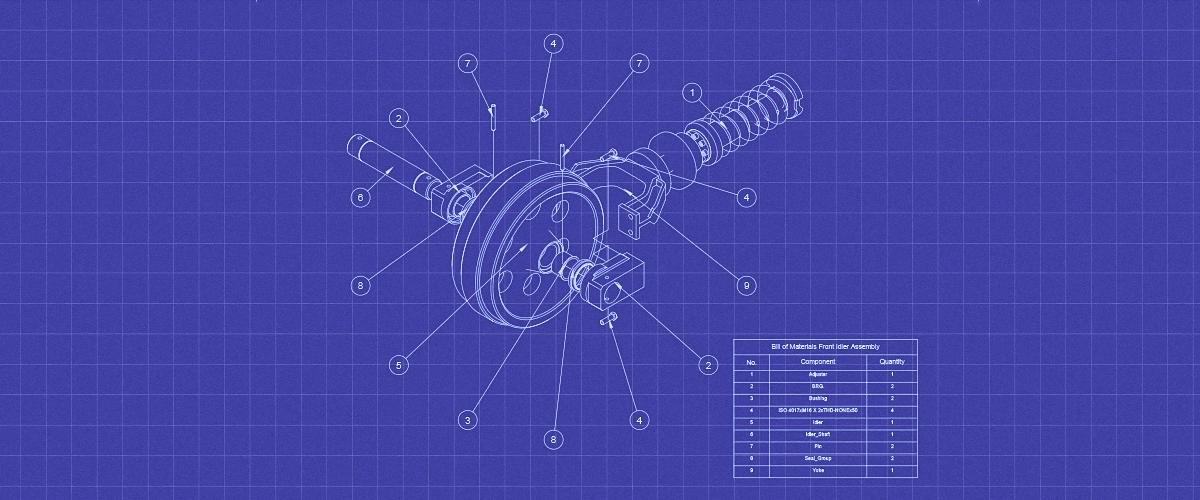
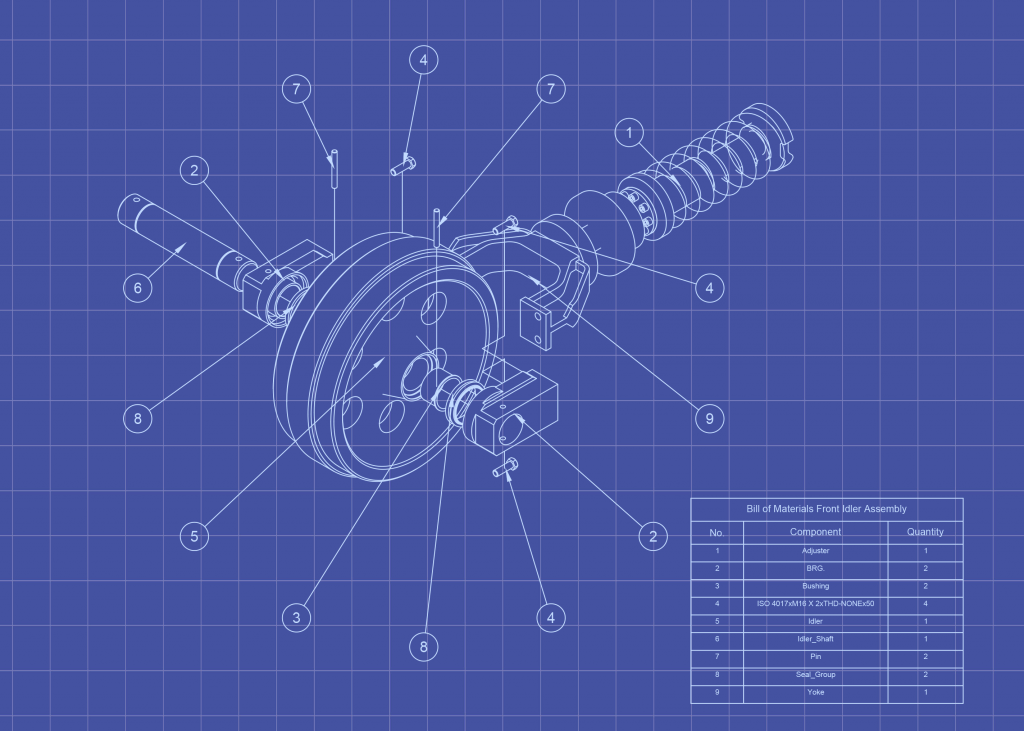
A few weeks ago you might remember I showed you some of BricsCAD's new tool to automatically generate exploded drawings. Today, due to popular demand, here's a quick guide on how to create a blueprint in BricsCAD. However, you can use these techniques to create any color scheme you choose.
How to Create a Blueprint in CAD:
- Begin with your exploded drawing.
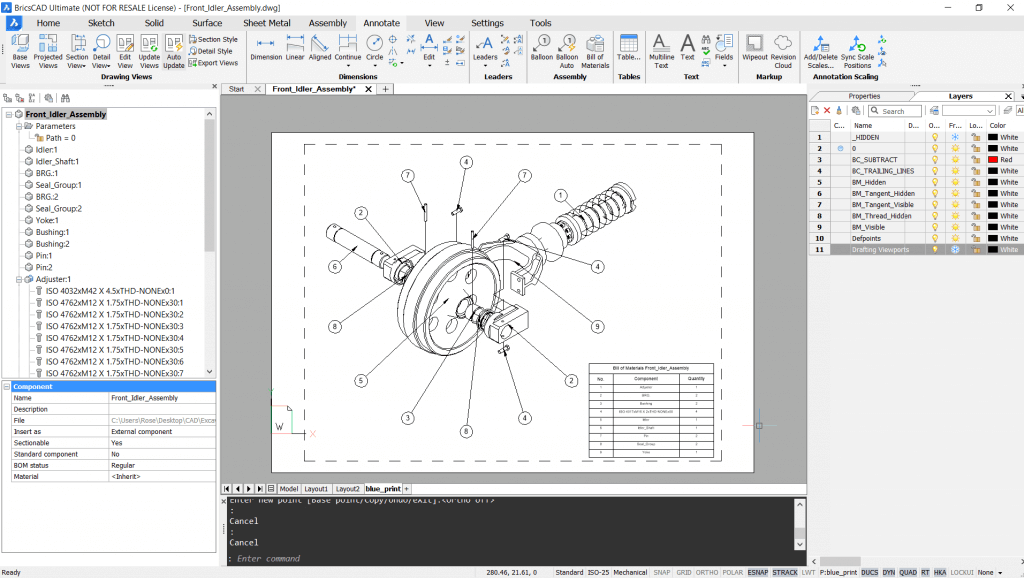
- Use VIEWEXPORT to export the drawing view to the modelspace.
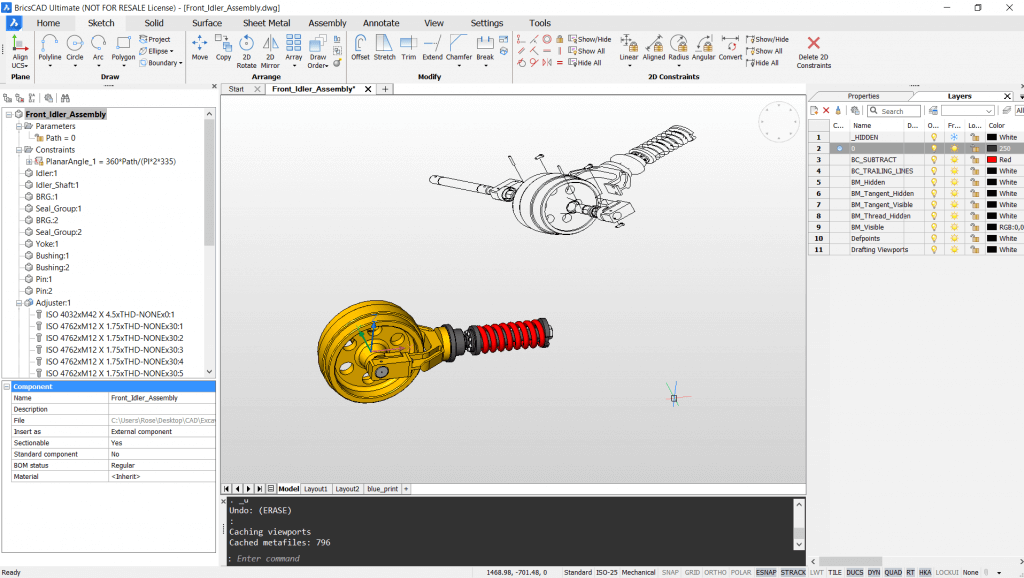
- Copy/Paste the view block from model space to layout. Use the original drawing as a guide for placement.
Note You will need to adjust the scale to match. - Delete the original drawing view.
- Use IMAGEATTACH to insert an image with the correct background color.
- Use DRAWORDER -- Send to Back to move the image to the background.
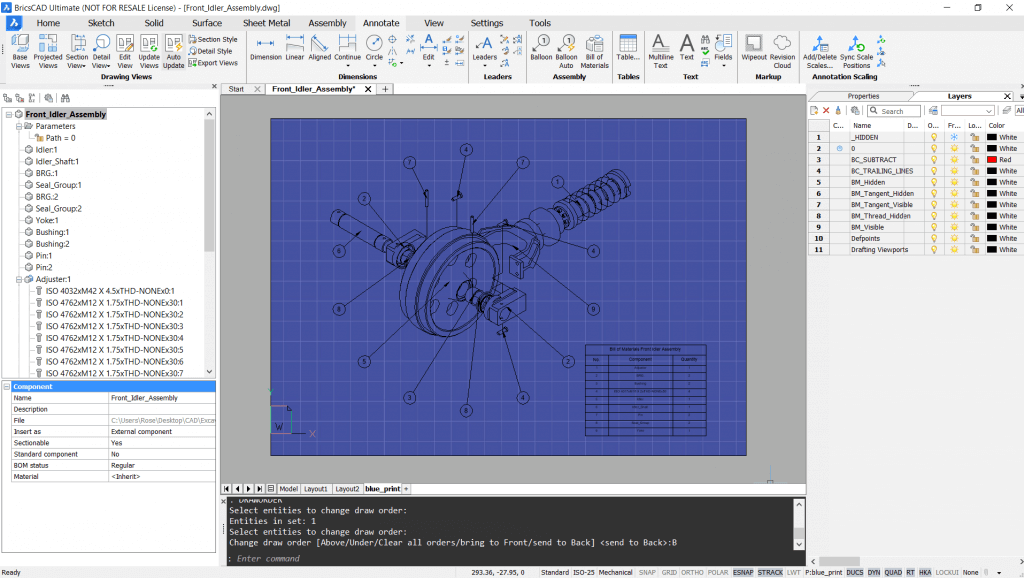
- Change the layer colors, as required. -- I'm going for a slightly off-white color here give give it a more authentic blueprint feel.
Note: Make sure the entity color is set to "Layer" in Properties panel.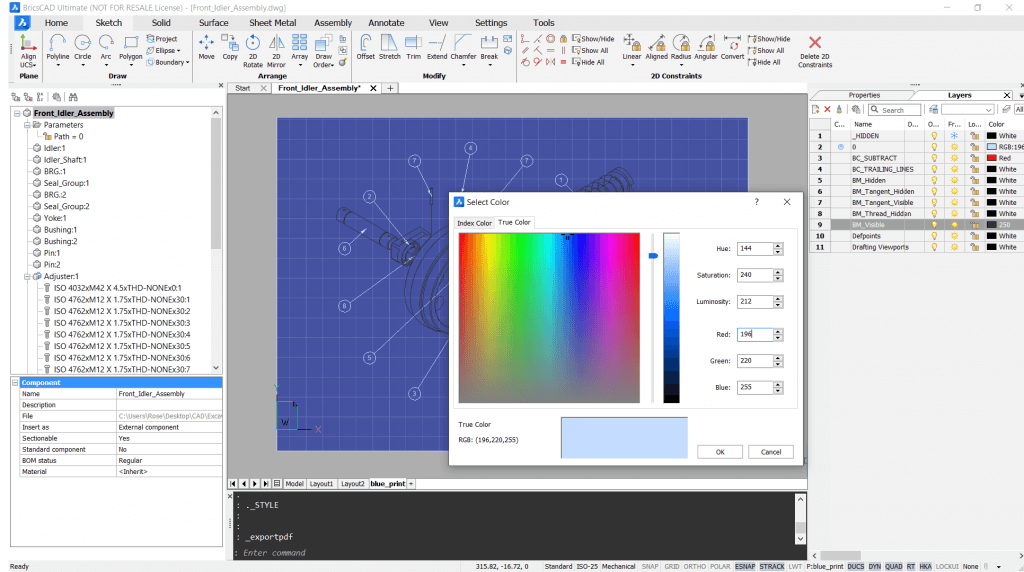
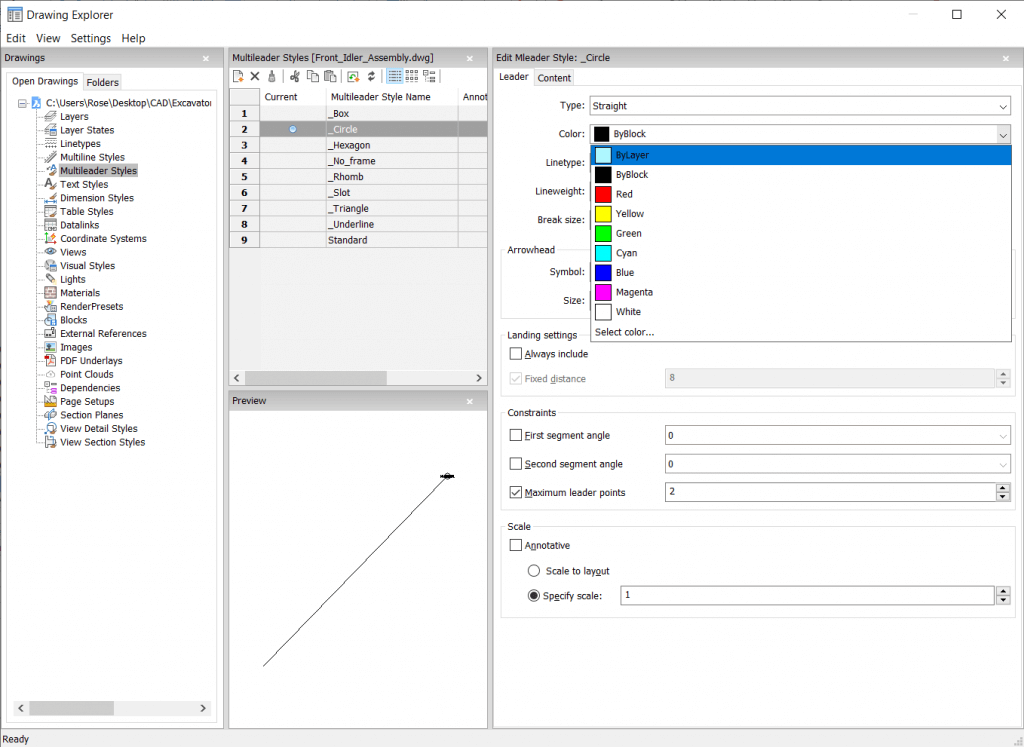
- In the Drawing Explorer change the MLeader style color to 'Layer'.
- Export the drawing to PDF. The result should be something like this:

Rose Barfield - CAD User Experience & Interface Design Specialist
Rose負責收集用戶反饋並改進BricsCAD產品。在來到BricsCAD之前,她是一名CAD使用者,在汽車、航空航太和國防工業中擔任技術插圖員。她喜歡找出事物的工作原理,把它們拆開,並(希望)把它們重新組裝起來。
